Now that the cooler weather is blowing over, it’s the ideal time to start planting. However, now you must consider which annuals to plant and how to protect them from pests and storms. What if you could take these factors out of the equation and enjoy greenery year-round instead? The good news is that you can. So, save some money and put your carpenter skills to the test by taking the DIY route and building a greenhouse.
Whether you have a large yard or not, you can create an ideal environment to keep your plants thriving, even as the leaves fall off the trees. Imagine having an extended season for your vegetable garden or shelter for your plants over the winter! Follow the steps below to build the perfect DIY greenhouse for your home.
Choose where to build.
It’s all about location, location, location! First, scope out the area around your home to see where a greenhouse will work best for you. Then, based on your space, determine whether your conservatory will be standalone or an attached lean-to, whether you’ll need a foundation, or whether it will be portable. There are plenty of benefits to having any of these options.
You can build a permanent fixture in one area that receives a lot of sunlight or move your greenhouse around depending on seasonal flowers or crops. A lean-to greenhouse is more easily hooked up to electricity and can be accessed from your home, but it is more limited in terms of location. Before you start building anything, though, you’ll want to check local zoning laws to see if you need a building permit.
The area where you build your DIY greenhouse should have level ground, good drainage, and good sun exposure. A greenhouse facing south or east is often best as it can help maximize exposure throughout the winter. If you want to get technical, use a sun path chart to plot the most optimal location. Many people also take access to electricity and water into account. While these are definitely convenient features to have, they’re not required. Just keep in mind that you won’t have access to some amenities if you forgo electricity.
Lay the foundation.
If your greenhouse will have a foundation, you need to consider whether it will be wood or poured concrete. If you aren’t including a foundation, you’ll need to lay down materials that drain easily, like gravel, bricks, or landscape fabric. As mentioned above, the ground will need to be level too. So, ensure that is the case before you begin anything else.
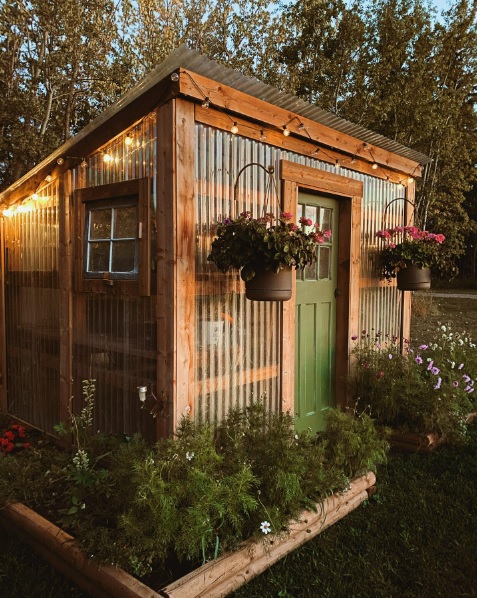
Determine how big you want your greenhouse to be. Should it be a shed that can hold potted plants galore, or does it only need to be large enough to cover a flower bed? Whatever size you choose, ensure you make the foundation or base a little bit larger than the framework that will sit on it.
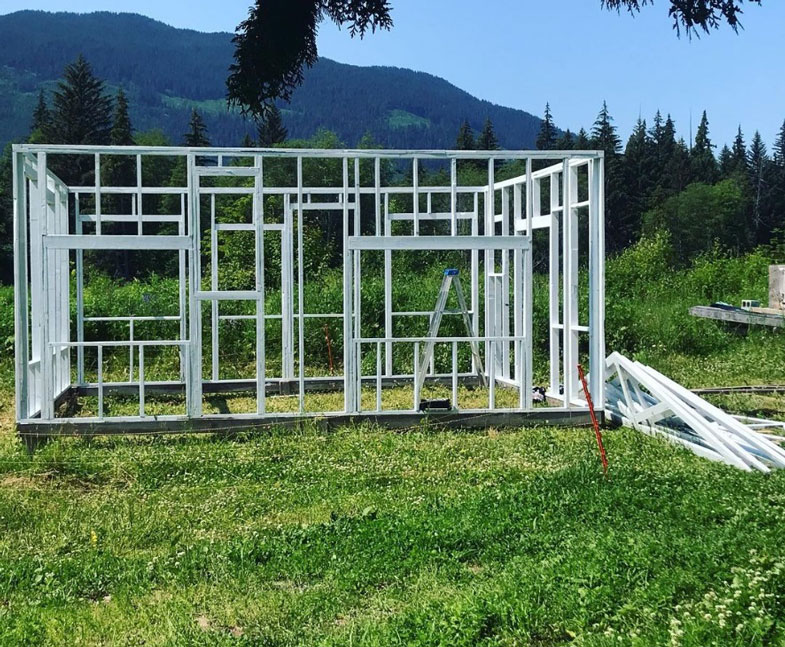
Build the frame.
Greenhouses come in all shapes, sizes, and materials. It’s important to consider what will work best for the climate, terrain, and space you are working with. Some greenhouse designs are compact and have just a few enclosed shelves, while others are larger and could be a combination conservatory and shed. This article covers several greenhouse designs you can implement on a budget. The most common materials you can use to build the framework include:
- Wood – best for warm, dry climates. Use pressure-treated boards if you live in a more humid area.
- PVC pipe – a very affordable, lightweight option perfect for mini-greenhouses. These can be bent to form arches or other shapes as needed.
- Aluminum – a durable and rust-resistant material that is also lightweight.
- Galvanized steel – corrosion-resistant like aluminum but stronger and denser, making it ideal for harsher weather conditions.
Pick a roof style.
The style of your greenhouse will play a big part in which materials you use, and there are several types of roofs to choose from: gothic, A-frame, Quonset, or gabled. An arched or gothic-style roof helps to repel rain or snow. It’s ideal for areas with a lot of precipitation and best suited for either glass or plastic covering. A-frame roofing is probably the most standard style and features a simple design that works well with any material and is suitable for areas with heavy snowfall.
Quonset, or rounded roofs, are another option. This tunnel-like construction is generally inexpensive and offers good airflow. The downside is that it’s less durable. Lastly, there are gabled roofs, which are triangular. This style often allows the most sunlight and is easy to build using various materials.
Select the type of covering.
What you choose to build your greenhouse out of will depend on how you want it to function and how long you want it to last. For example, tempered glass or fiberglass greenhouses are the most popular options. This material absorbs more sunlight than greenhouses covered in plastic but has a higher price point. Glass is also much more easily damaged, especially if you live in an area with extreme weather or temperature fluctuations.
UV-resistant polycarbonate sheets are a great choice if you want something more affordable but still durable. This option provides more insulation than glass and is lightweight. You can also build a sustainable greenhouse by upcycling materials like old glass windows or plastic sheeting. Plastic sheets are the most budget-friendly but also the least durable, as they generally need to be replaced regularly.
Customize based on your needs.
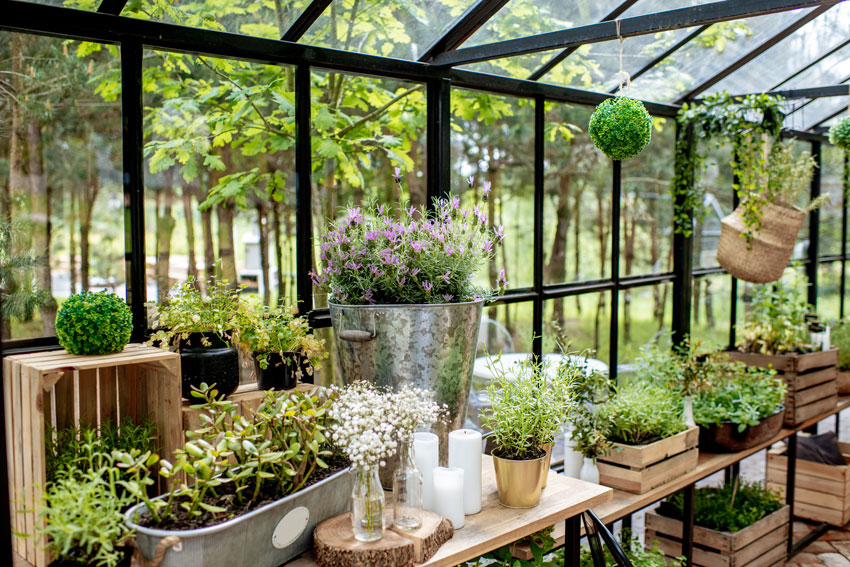
Once you’ve selected your materials and your DIY greenhouse is in the building stages, it’s time to customize the interior. First, choose greenhouse supplies and amenities based on the types of plants you’ll be growing and whether there is access to electricity or solar power. Some features to consider include a fan to help circulate air, a dehumidifier if it gets too humid, a heater for cooler weather, or a ventilation system to prevent the space from getting too hot.
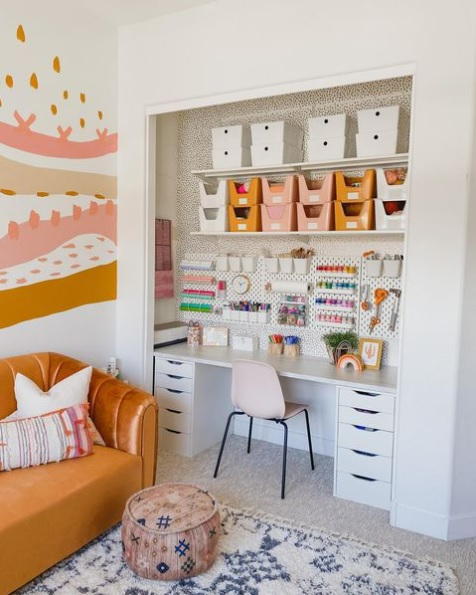
Shelves and potting benches to store planters, bags of dirt, and more, are also a great addition to larger greenhouses, as are wall hooks to hold your gardening tools. Use either singular hooks or pegboard strips to keep your garden supplies organized. You can also use a basket to store smaller tools like gloves and clippers. It’s convenient to have gardening tool storage for your most-used items accessible and in one place, but not all greenhouse designs function the same way, and not everyone has a storage shed.
Get storage for your greenhouse.
The purpose of your new backyard greenhouse is to store plants in an optimal growing space, but what about everything else? Consider self-storage if you’ve run out of room for some of your seasonal or less-used gardening supplies. Prime has locations across many states, with storage units to fit just about any need, including shed-size spaces and more. Find a location near you to see what storage unit sizes are available, or use our size guide to determine the perfect garden storage space for your needs.